Getting Started
Use this page to launch the GUI, load data, and learn the basic test-selection actions.
1. Installation
For a normal installation:
Create and activate a Python environment with Python
>= 3.10.Install the GUI from PyPI:
pip install micromechanics-indentationGUI
Start the installed GUI:
micromechanics-indentationGUI
To upgrade an existing installation:
pip install --upgrade micromechanics-indentationGUI
If you are working from the repository instead of an installed package, start it from the project root with:
python -m micromechanics_indentationGUI.main
2. First steps in the GUI
When the GUI opens, start with these steps:
Choose the workflow tab you want to use.
Add one or more data files.
Check that the file list is correct.
Run the tab’s first calibration or calculation to generate the test list.
Select the tests you want to inspect or calculate.
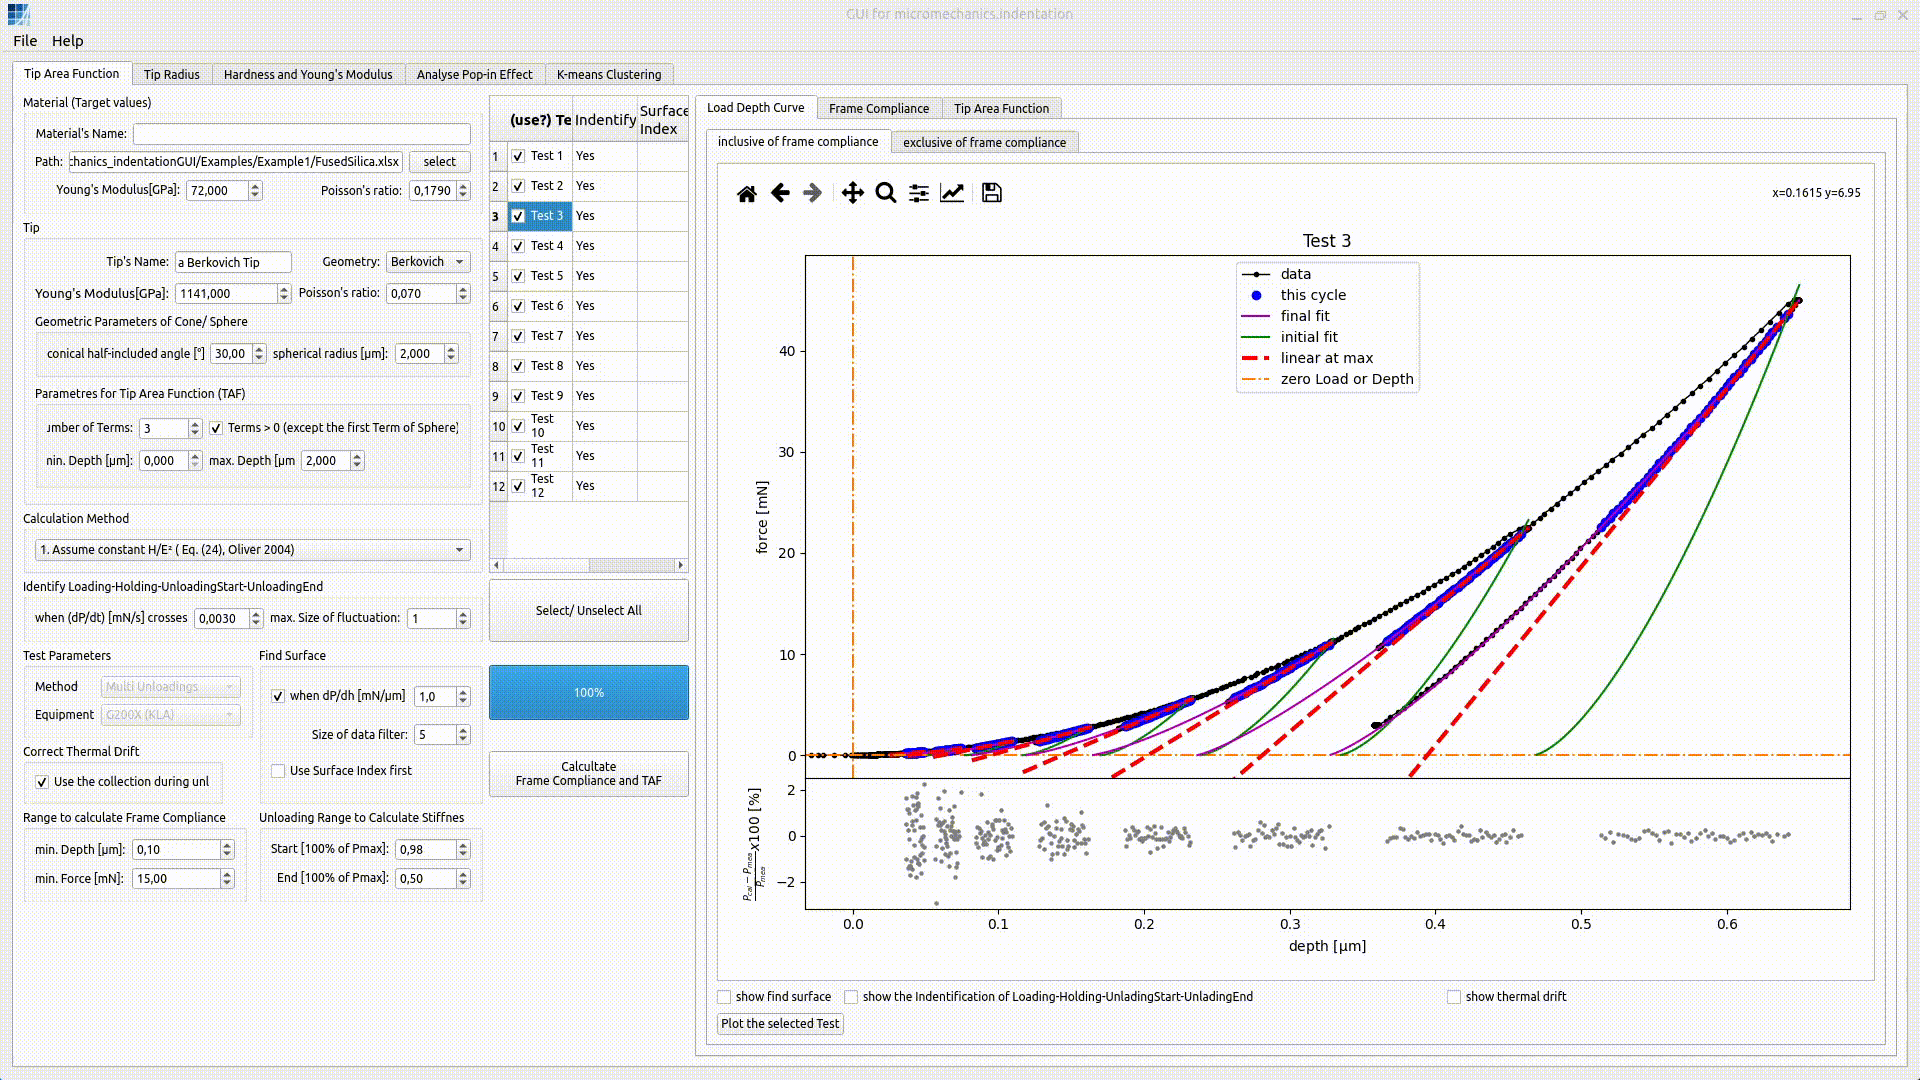
Plot the selected tests to inspect the load-depth curve and check whether the parameters for detecting the contact surface or identifying the load-hold-unload segments are correct.
Run the calculation again if you changed the test selection or the analysis parameters.
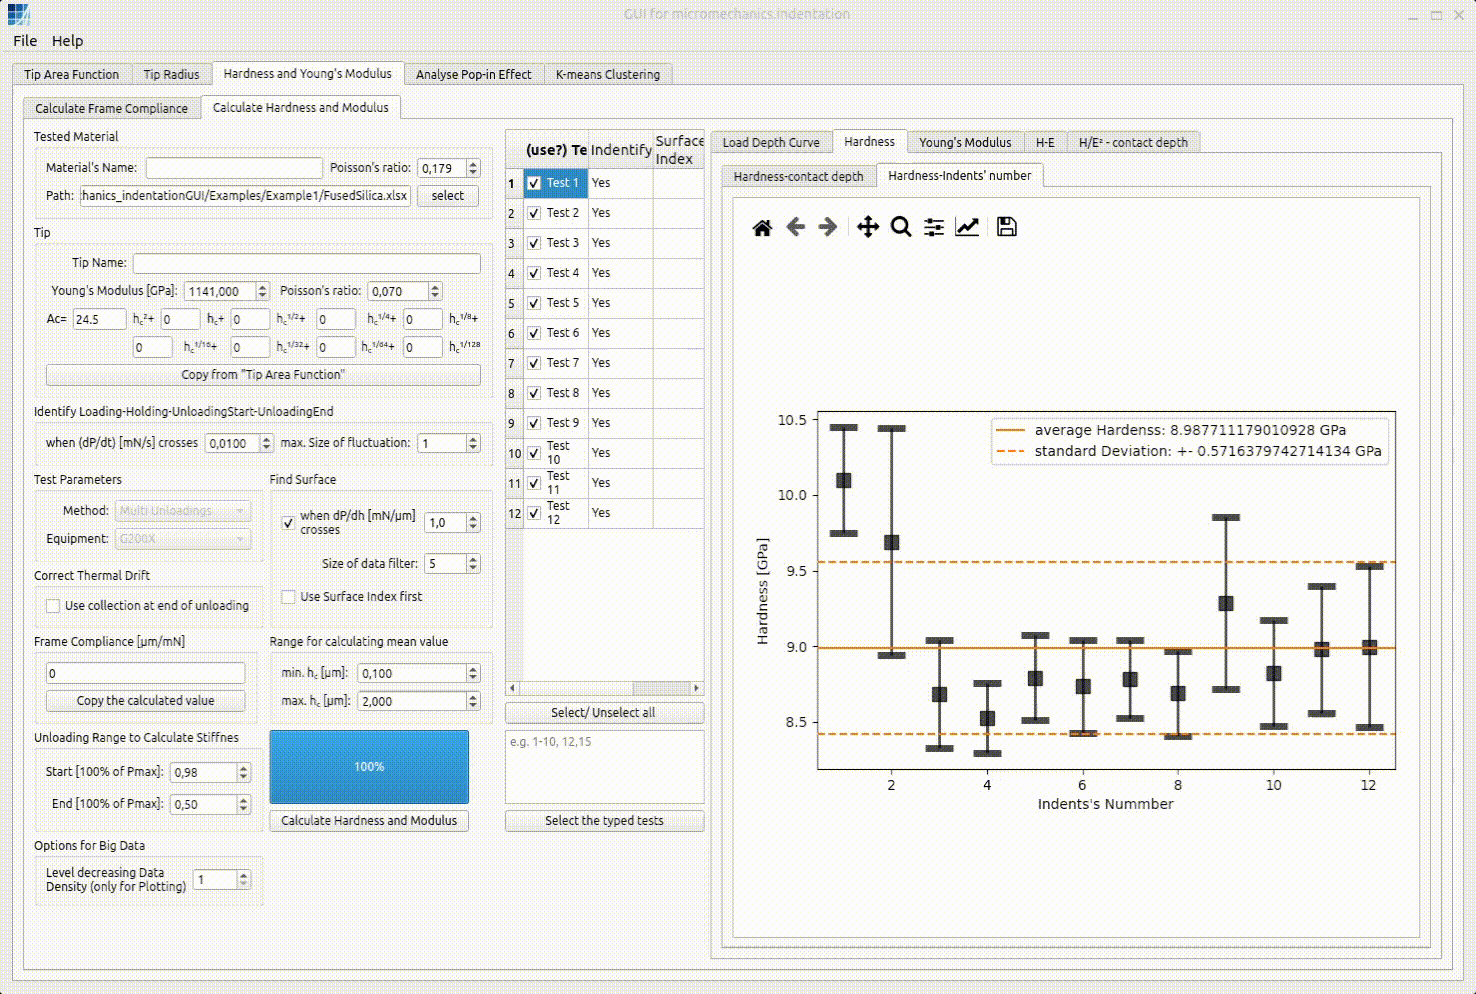
Inspect plots and summary values.
Some tabs use a path table instead of a single path field so that you can work with multiple files in one workflow.
In many tabs, the test list is not available until after the first calibration or calculation has finished.
The main workflows are organized into these tabs:
Tip Area FunctionHardness and Young's ModulusCreepTip RadiusAnalyse Pop-in EffectK-means Clustering
Several workflows also have a frame-compliance sub-tab or related frame compliance step.
If you are not sure where to begin, start with Tip Area Function or go to Workflow Guide for the recommended order.
3. Select tests for plotting
There are three common ways to highlight tests for plotting the load-depth curve.
Left click

Left click +
Ctrl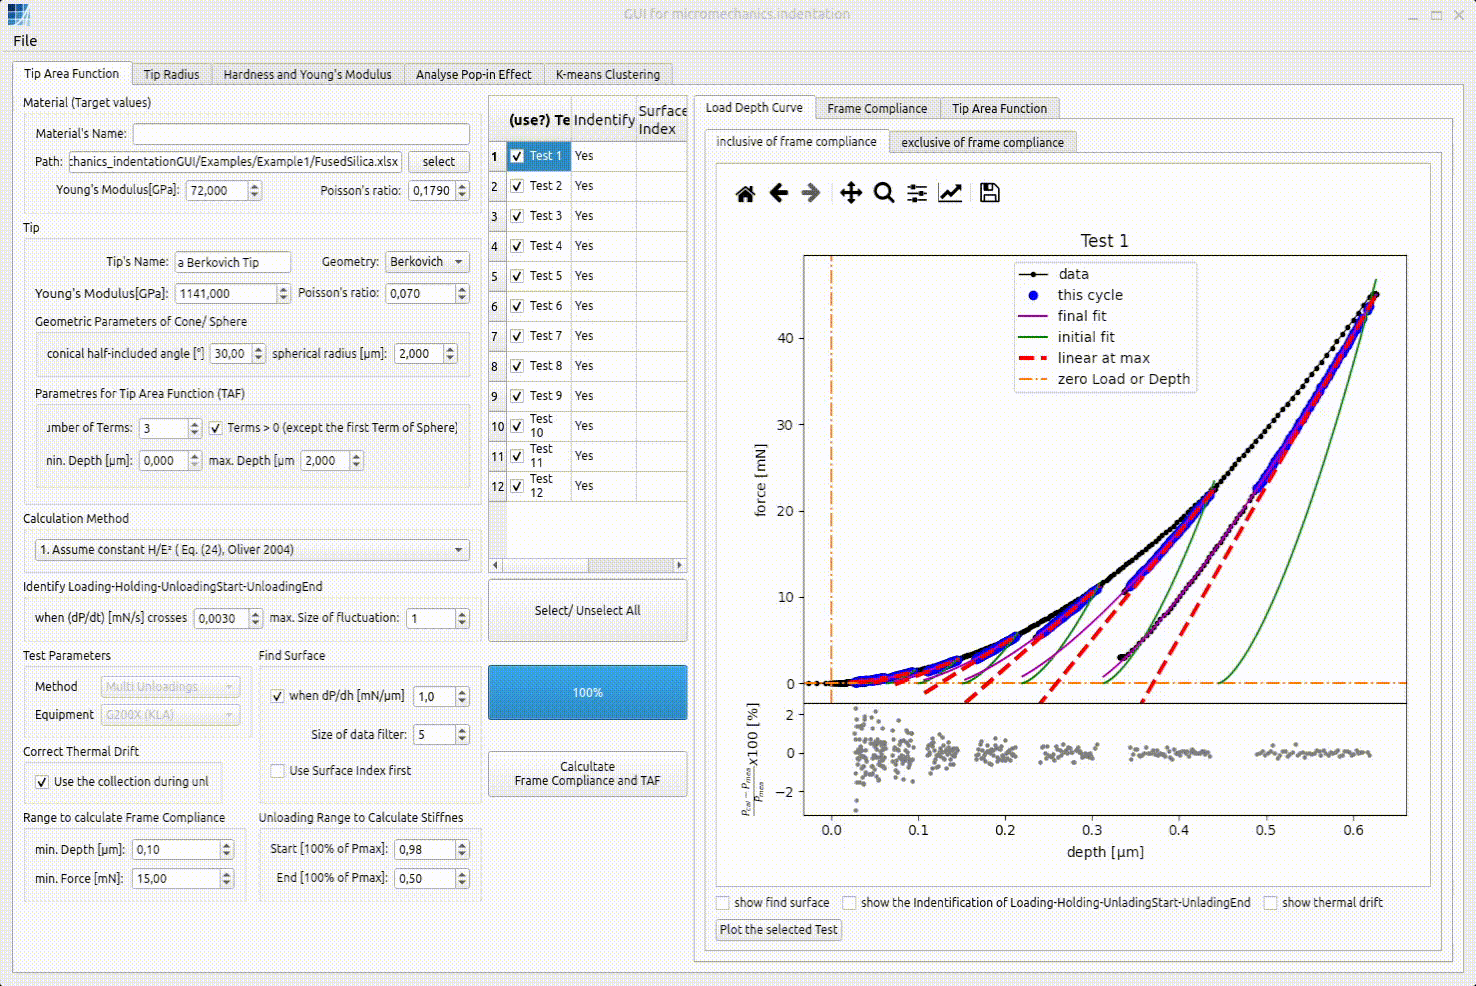
Left click +
Shift
4. Select tests for calculation
There are three common ways to choose which tests are used in the calculation.
Left click

Select or unselect all tests
Type the test number

5. Manually set the contact surface
If needed, move the mouse onto the data point and right click to set the contact surface manually.
6. What to read next
Once you are comfortable with loading files and selecting tests, continue with Workflow Guide.